


Let's get right to the good stuff!
So I had a few inspiration pictures from Pinterest, and I was hoping for something a bit more woodland-creatures-related, but then the best shapes at our local craft store were stars. So I went ahead and bought those for the mobile, along with acrylic paint in nursery colors (lavender, navy blue, midnight blue, and deep plum), some monofilament thread, and a small wreath form (which I spray painted white).
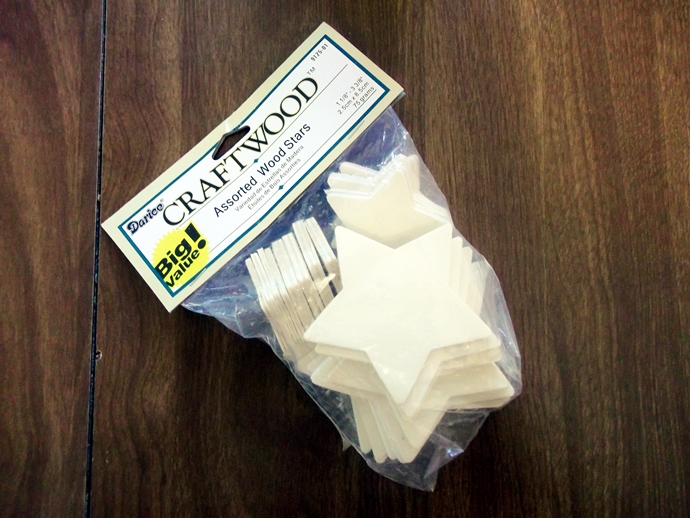


 With these materials assembled, it was time to create the mobile itself. First, I needed to put holes into the top of each star. Using our drill and the smallest bit we have I put a tiny hole into every star.

Once that was accomplished, it was time to paint the stars. This took a bit of time because I had to let the fronts dry before painting the backs, but they were all done within half an hour.


After the stars were painted, I devised a way to assemble to mobile. I hung it from a hook in our living room until it was at a comfortable level -- I worked on my knees, so it was pretty low to the ground!

I'd have to say that I'm pretty pleased with the results.


-
I can't wait to keep making more things for the nursery!
Keep it real,

Adorable! Great job, Mary Beth! :)
ReplyDeleteThank you, Trina!
Delete